2. The MVP design of the TalkFlowApp
Figma design
I have discussed in my previous article that I am building a Speech to Text application which I named is TalkFlowApp. Check out the first article here.
The second step after announcing is to create an MVP design and in this article, I am going to explain the various pages involved in the TalkFlowApp.
There are many areas of the application and I am going to list those things one by one here.
For simplicity, I will list the various pages here:
- Signup page
- Login page
- Article list page
- Write article page
- Profile page
- Integration page
- Upgrade page
1. Signup page:

This is the design of the signup page and you can see that I am supporting two ways for signing up.
The first one is using email and password to signup and create an account in the TalkFlow application. In this method, I am taking the user name, user email and password to create an account.
The second way to signup and create an account in the Talkflow app is signup with Google.
Once the user signup, he/she will be on the free plan by default.
2. Login page:

As you can see from the above picture, this is the design of the login page.
As expected from the signup page, we are supporting two ways to log in.
The first way to log in is to use email and password and the second way is to use Google to login into the application.
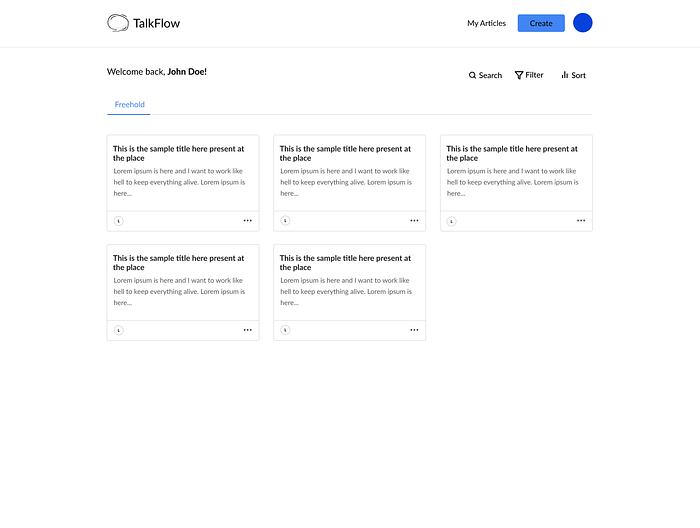
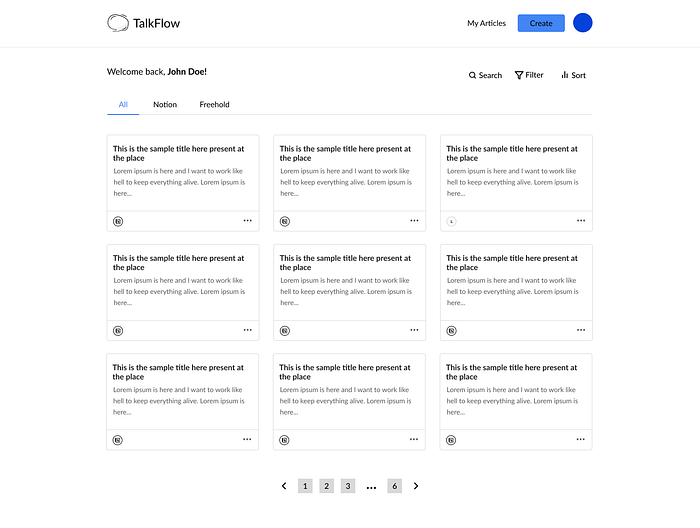
3. My Articles page:
After signing up for TalkFlowApp, the user lands on the My Articles page, where there are some pre-created articles are present.
These articles are default articles available to any user who signup for the first time.
Once the integration is done (notion integration), the All and Notion options will also be available on the article list page.
3. Write Article page:
Now, if the user clicks on the Create button present on the top header, it takes the user to Write Article page when the user can write articles either by voice or typing on the keyboard.
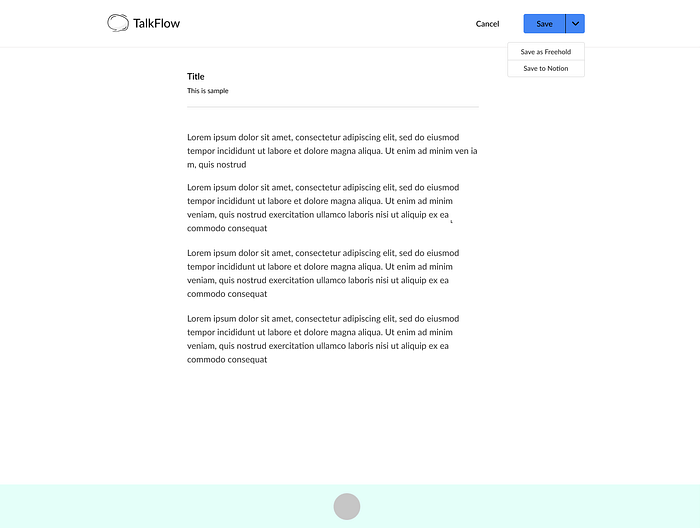
There are two options to save the article written. The first one is Save as Freehold button which saves the article in the TalkFlow database.
Once the user clicks on Save to Notion , a popup comes and the article is saved on the notion but before saving it to the notion, a reference object is saved in the TalkFlow application database.

4. Profile page:
Once the user clicks his/her avatar photo, a dropdown opens up. The user can see options such as Profile , Integration and Upgrade plan .
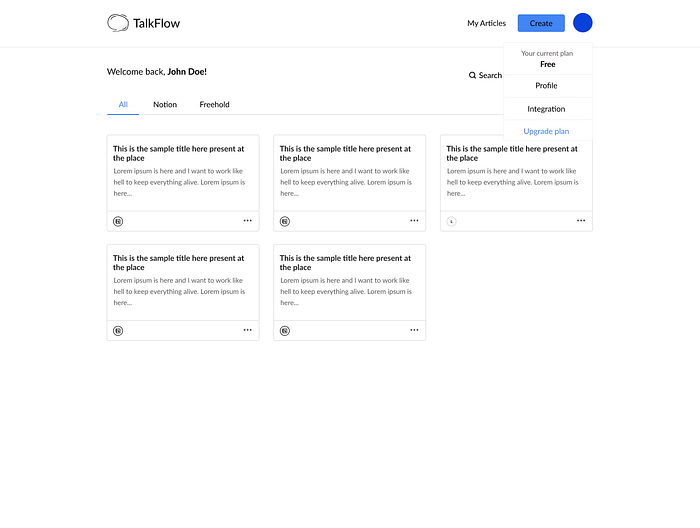
Now, the user clicks on the Profile option, he/she lands on the Profile page.
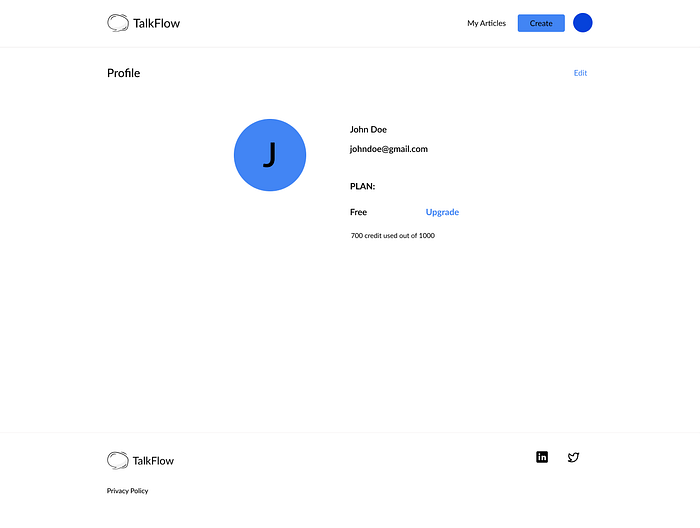
You can see a bunch of details here such as Name, Email, Current Plan etc. If the user wants to update the name, he/she can do by clicking on the Edit option. The Name is only allowed to be edited as of this MVP of the product.
4. Integration page:
Once the user clicks on Integration option, he/she lands on the Integration page.
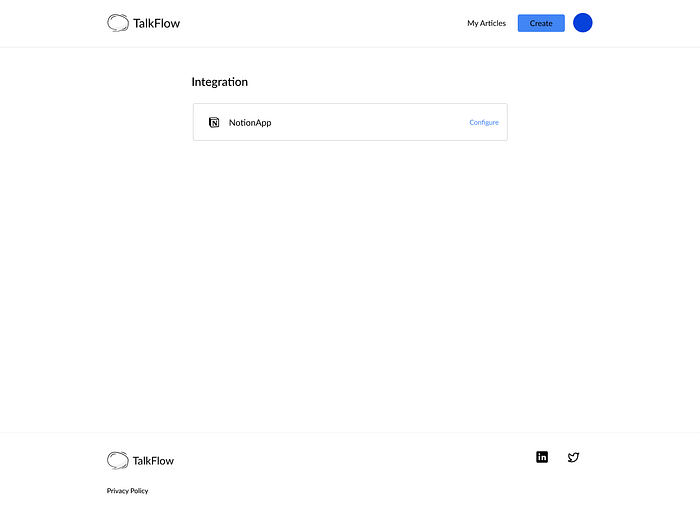
As of now, we are only supporting Notion as integration.
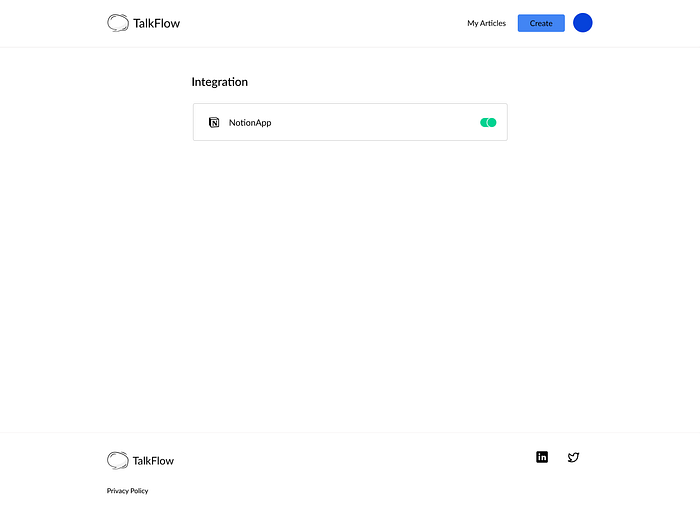
Now, the user performs a bunch of steps to integrate with the notion app. Finally, the integration screen looks like this.
4. Upgrade plan page:
Once the user clicks on the Upgrade plan option from the avatar dropdown, it leads to plan page.
The plans page looks like this:
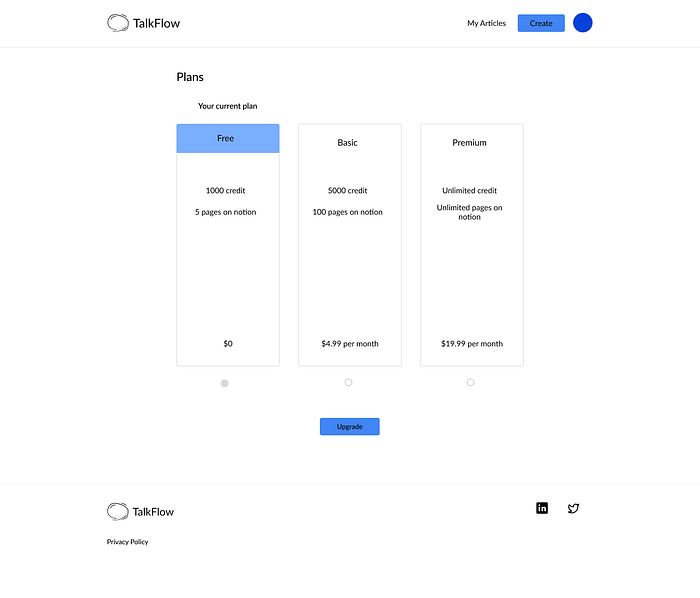
Users choose an option and click on upgrade. A payment screen will open and after payment, the user can enjoy that paid plan.
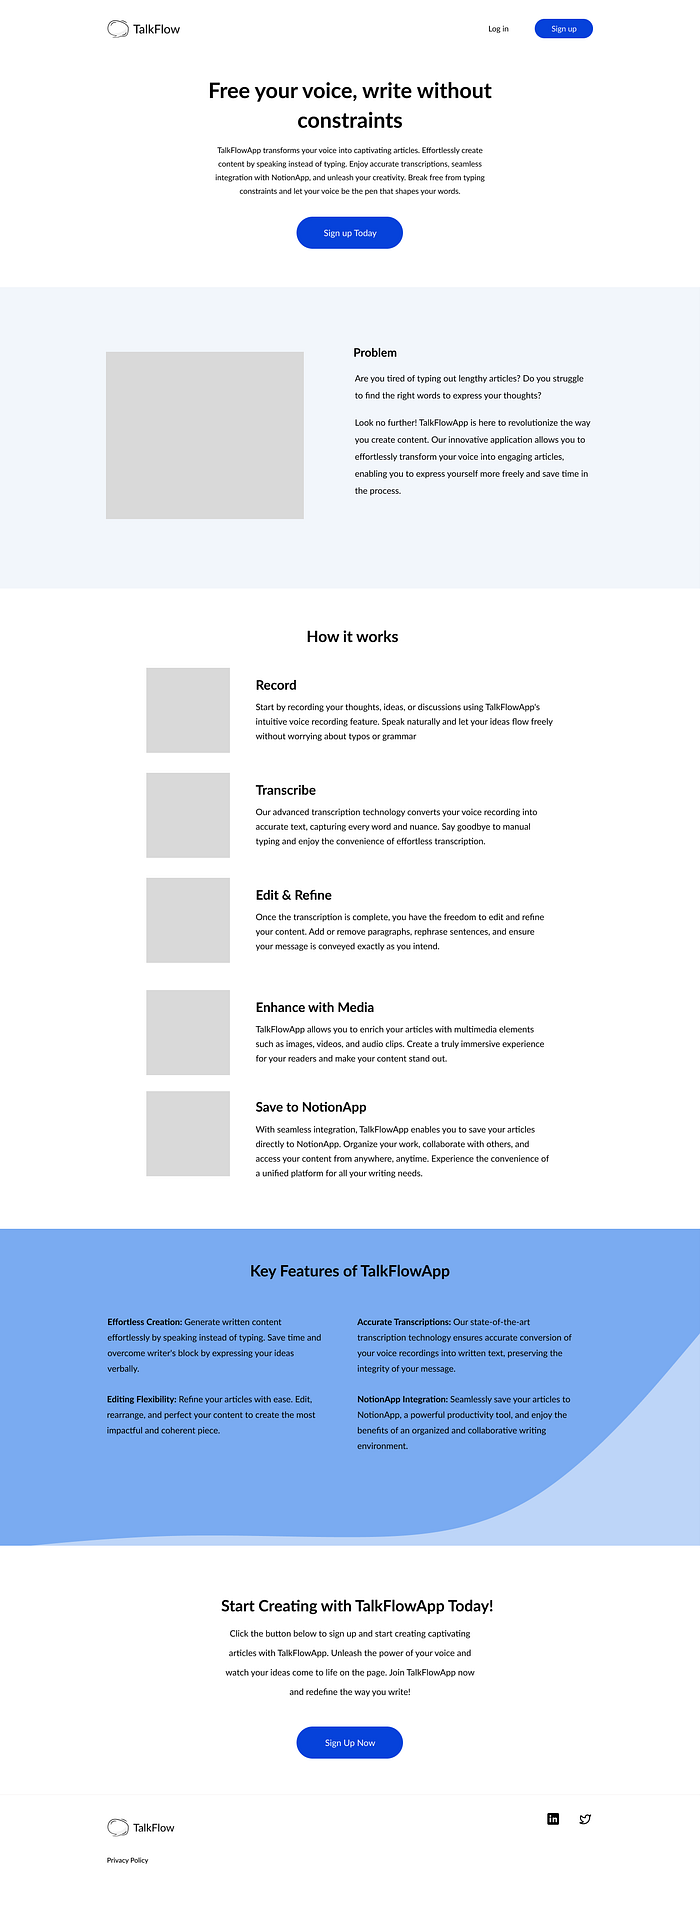
Marketing landing page:
Apart from the main application which is Saas, I have also created the design of the marking page of the TalkFlowApp as described below.
This is all for the MVP design of TalkFlowApp.
Here is the Figma link to the design in case you wanna check it out.
If you enjoyed this article, please follow me here on Medium for more stories about programming and technology.
Stay ahead of the curve! Sign up for my newsletter and receive exclusive content, valuable insights, and the latest updates delivered straight to your inbox. I also write extensive blogs on FrontendRoom.